So, being the Prince fan (nerd) that I am, I was going through my 45's the other day logging them into my spreadsheet. I happened to share this with an online friend who advised me that my list was incomplete. So I bashed our lists together and found that may be 14 distinctly different US releases for When Doves Cry. The majority of the differences are on the B side label for 17 DAYS. I took the documentation from Sleevographia and fleshed it out with some of my research, even finding a 'Type 5' release that Sleevo does not show. This is what I have gathered so far, if you have any additions or would like to discuss, please feel free to comment below.
If you are not able to visually tell the small label from the 'slightly larger' label, look at the red flower - if there is a white space between it and the edge, it is the larger label. If the red part touches the label edge than it is the small label. Also on the small label, there is a 'ring of ridges' that circle the label.
Many thanks to Alex from Sleevographia for the use of a couple of images that I do not yet have.
|
Type 1a / slightly bigger label / and the REVOLUTION no font / small 17 DAYS |
|
|
Type 1b / small label / and the REVOLUTION no font / small 17 DAYS |
|
|
Type 2a / slightly bigger label / and the Revolution font / bigger 17 DAYS |
|
|
Type 2b / small label / and the Revolution font/ bigger 17 DAYS need this one |
|
|
Type 3a / slightly bigger label / and the Revolution font / small 17 DAYS need this one |
|
|
Type 3b / small label / and the Revolution font / small 17 DAYS
|
|
|
Type 4a / slightly larger label / and the Revolution font / bigger 17 days / end of flower above Warner Bros logo Need this one |
|
|
Type 4b / small label / and the Revolution font / bigger 17 days / end of flower above Warner Bros logo
|
|
|
Type 5a / slightly bigger label / and the REVOLUTION no font / small 17 DAYS / end of flower above Warner Bros logo need this one |
|
|
Type 5b / small label / and the REVOLUTION no font / small 17 DAYS / end of flower above Warner Bros logo |
|
|
Purple vinyl (and the revolution no font)
|
|
|
Black vinyl PROMO
|
|
|
Purple vinyl PROMO
|
|
|
Back to Back Hits
|
So you're in derby and want to use my photo for your profile or cover photo on Facebook? Great! I love that you like my photos enough to want to show the world how awesome you are! But I will make you a deal.
Follow these guidelines are we will both enjoy this process. Ready? Here we go!
First things first - you have GOT to like the photographers page. This is not just an ego boosting exercise, you can't do any of this with out liking our pages.
PLEASE NOTE - Thanks to Dave Wood I will be rewriting a bit of this page. Specifically the Profile Photo part.
Profile Photo: First off, tag yourself in it. That gets it into your photos and makes the rest really easy. When you mouse over the photo there is an 'option' button at the bottom, and one of the choices is "Make Profile Picture".
![]()
When pressed, this will put a bounding box where you can select what is in your profile photo. Grab a corner and make this to contain what you want to see in your profile photo. HINT: Make it as close to square as possible. Happy? Press the "Done Cropping" button.
![]()
Now you have a bad ass profile photo, but you are only half done. Here is where the Deal comes in. I worked really hard to make this photo look as good as I can. Your part is to credit your photographer. Because you are friends (hopefully) with the photographer, you should link/tag back to the photographer and the page where their derby photos are displayed. This way, all of your awesome friends that may not be my awesome friends can see all of the awesome photos from your bout!! And the other reason is remember what part where we cropped the photo for your profile, well, did you see the part where it cropped out the photographers name? Yeah - that...
![]()
And here is your kick ass new profile photo:
![]()
Cover Photo: Unfortunately at this point in most cases you have to download it. I will tell you that in most cases this will make your cover photo suck and look all low res and pixily... UGH! So, you can ask me to turn the photo into a cover photo for you (I personally don't mind, it will look better). Also, the pixel dimensions are 851 x 315 and do not fit in ANY standard photo sizes. This will result in a LOT of the photo that you want to display to be out of the frame. But yes, if you insist on doing it yourself, download the photo. Then mouse over your current cover photo, you will see a "Change Cover" button pop up. Select 'Upload Photo':
![]()
Then reposition the photo to fit what you want to see in the confines of the box. If you got your cover photo from me directly, you will not need to reposition because that's how I roll!
![]()
Then "Save Changes" and you are again half way done: Please see above about "Here is where the Deal comes in" and credit your photographer.
Now you have an AWESOME profile photo along with an AWESOME cover photo:
![]()
BONUS (for my images only)!! If you do use one of my shots for either, please let me know. When I do see them, I try to screen grab you using them and I put them in a special gallery: http://tinyurl.com/n7lsfu6
Thanks to:
Thorpe Griner of Thorpeland Photography: ( https://www.facebook.com/ThorpelandPhotography ) for the use of the first photo.
Assassination City Roller Derby: ( https://www.facebook.com/AssassinationCityRollerDerby ) for the use of the second photo.
Duane Baker and Quentin Campbell for being unwitting, but stunningly handsome models.
Derby Photographers and Derby Leagues - if you would like to use this for training purposes for your FM, please feel free to.
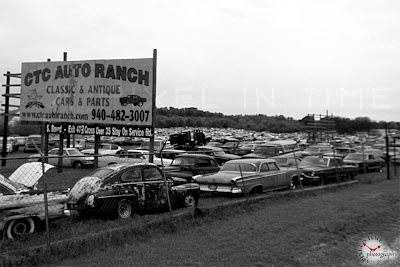
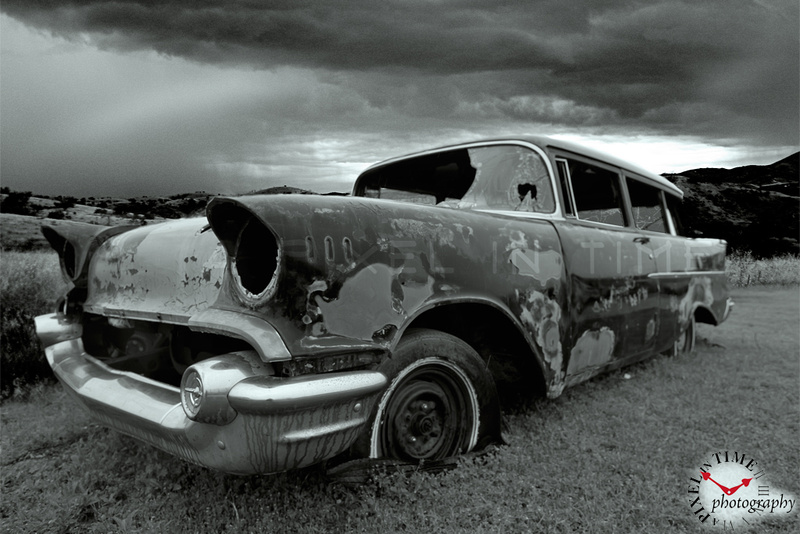
I know - a daytime shoot? Yeah - the place I shot these at is only open till 5pm so I was kind of limited. I would LOVE to get in there at night, but there was evidence of attack cows all over the place (read cow poop)...
50 degrees F. Overcast and drizzly. Very flat light. After 90 minutes or so, I was completely soaked!
Most of these started out as 4-6 multi exposures, blended and mildly HDR'd prior to B&W conversion. All were handheld (if you look close enough, you will see ghosting - I think I missed it on 2 of the images)
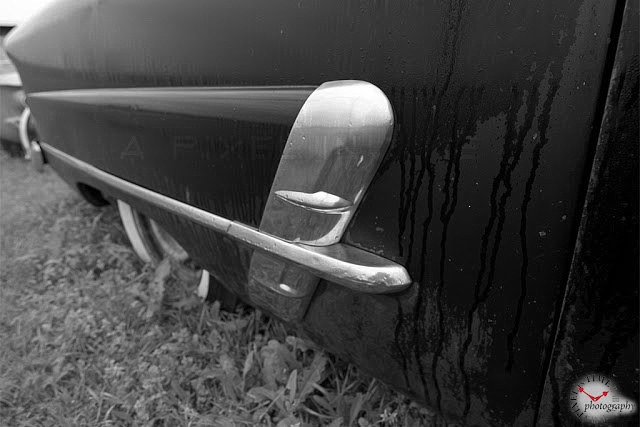
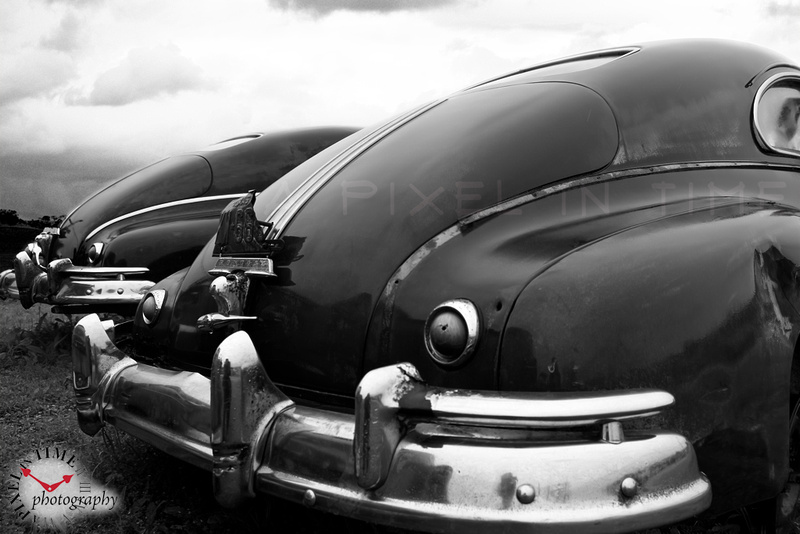
Without further ado, here are the images:
|
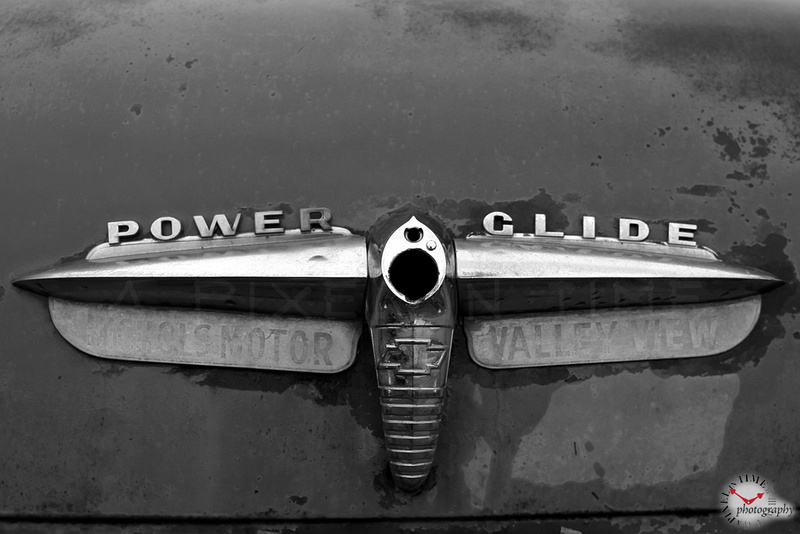
| This one had a hood from a '57. It has 2 doors. Nomad rotting away.... Sad really! |

|
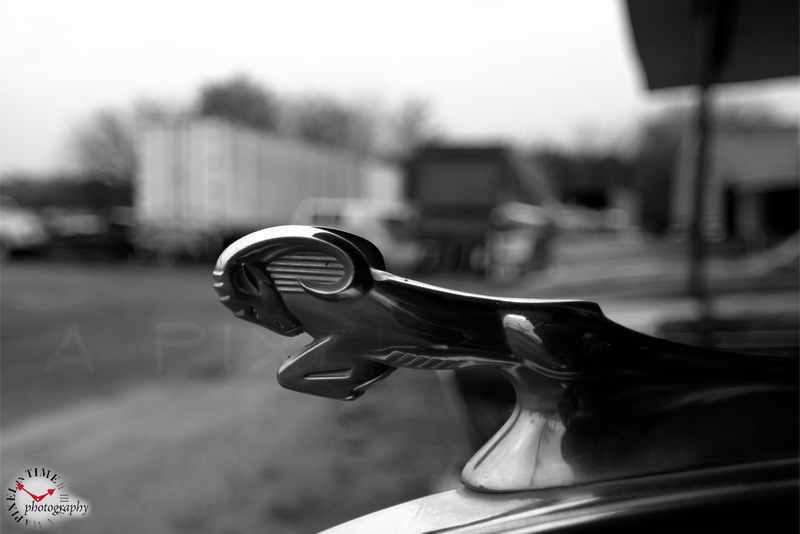
| My daughter asked me to have a copy of this one printed so she could hang it in her room. (grin!) |
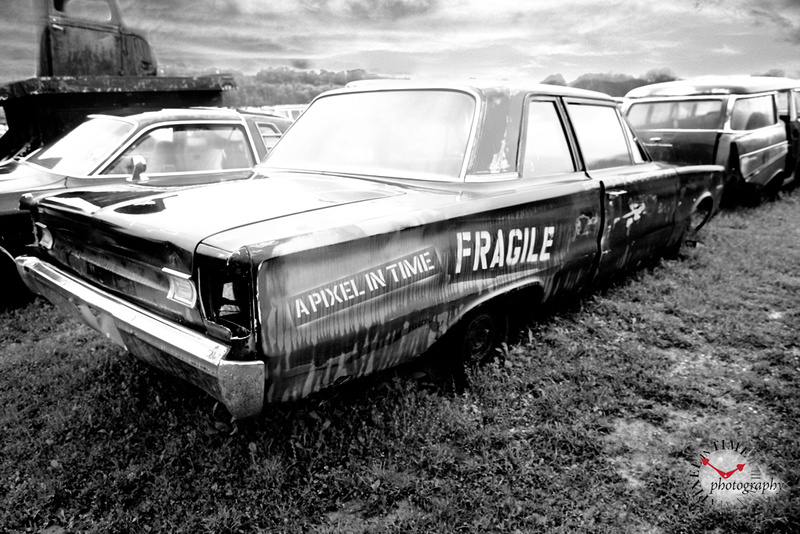
|
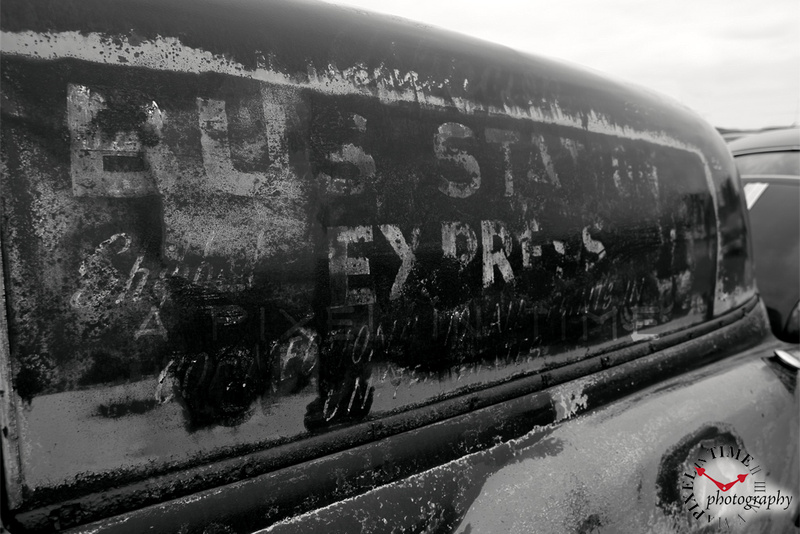
| The 'FRAGILE' stencil was there. I added the other stencil in post for a bit of fun. |
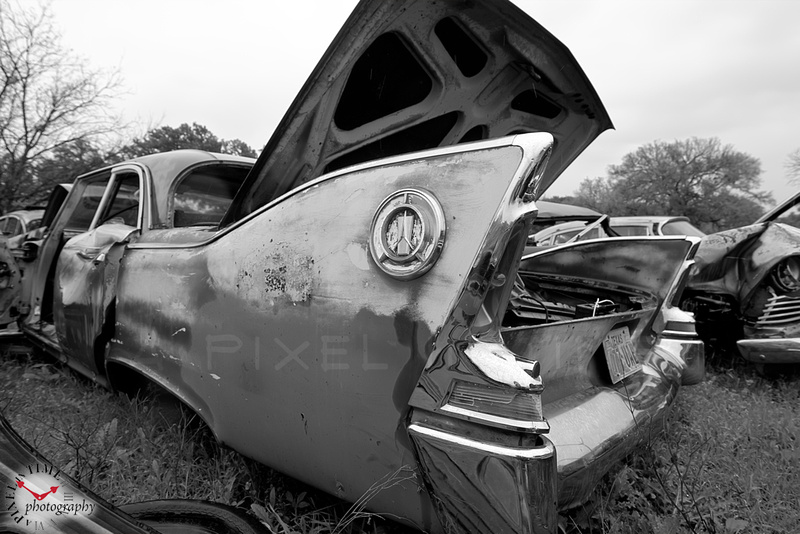
|
| Standing in front of this car, it looked like it was ALREADY in HDR! |
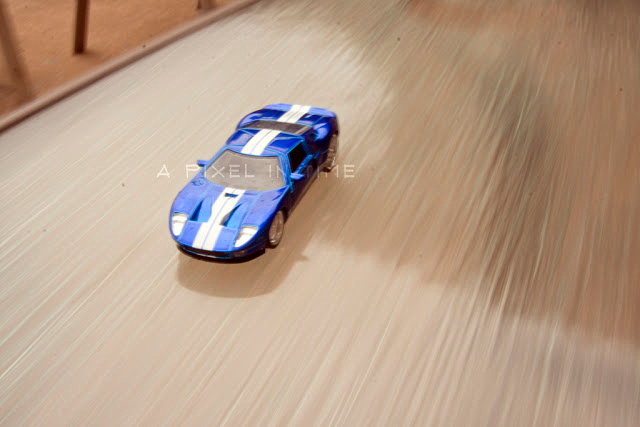
Good day! Today I decided that I wanted to do a photo project that would mimic a 'car rig shot' but on a much smaller scale. Specifically metal die-cast cars. Given that there is a lot of different pieces needed for the full scale rig, a complete redesign and slightly different methodology would be needed given that a scaled down rig would not support my camera!
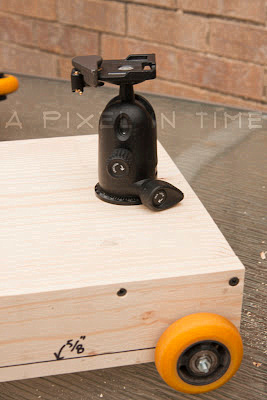
The theory is this: If you move your car and camera at the same speed and orientation and drag the shutter, it will appear that the car is moving really fast. Now, because I like to have a bit of fun I thought that it would be interesting to make a scale model car appear to be moving very quickly.
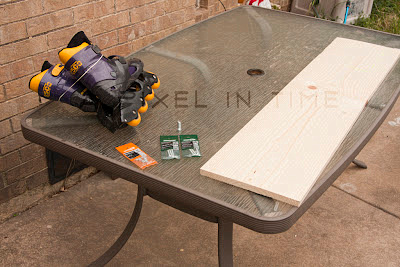
I decided that I would need to get a smooth rolling camera dolly to mount my camera on and devise a way to attach a car to it. A quick internet search showed a few, but I was convinced that I could do this for less than $25. I designed something in my head and went about getting the parts for it. The most important part of this rig is the wheels. They need to roll smoothly. I decided that inline skate wheels would fit the bill. Fortunately there is a Thrift Store pretty close to me. Found a pair of donor skates for $7.99. I figured that $1 a wheel was pretty good, and since I only needed 4 of them, that would leave me 4 extra for another project.
Here is my parts list:
4 - inline skate wheels ($8)
1 - 12"x1"x4' pine board ($6)
1 - 3/8"x1 1/2" hex head bolt ($.22) [this is specific to the size of the thread of your ball head - check first and buy the correct size. If you are unsure, get both a 3/8" and a 1/4")
4 - #10-24x2 1/2" machine screws and 12 - #10-24 nuts ($3.54)
8 - 1 5/8" Sheetrock screws ($.?? I had them in the garage and they are like $5 a pound - so maybe $.10)
Tools needed:
Table saw, Drill, Drill Bits, Counter Sink Bit, Screw Driver or Driver bit for your drill, Tape Measure
How To:
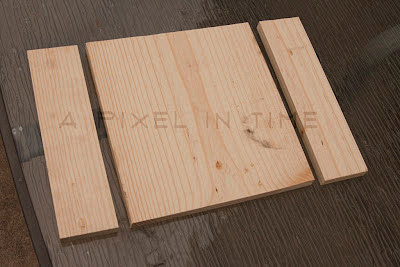
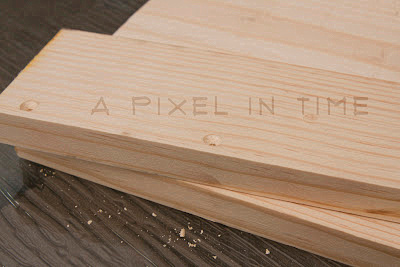
* Cut 2 parts of the board to be 12"x12". Save the remainder of the board for another project.
* Rip one of the newly cut boards into 2 "strips", 3" wide. The remainder of this piece can be saved for another project.
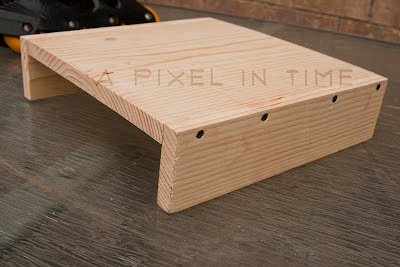
* On each of the 3" strips, drill and counter sink 4 holes along the long bottom of each.
* Secure each of the 3" strips to opposite sides of the 12"x12" platform.
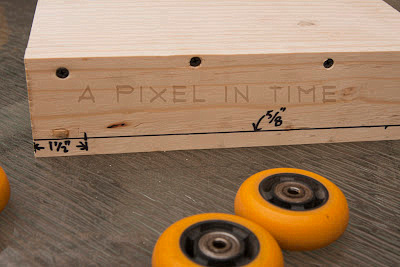
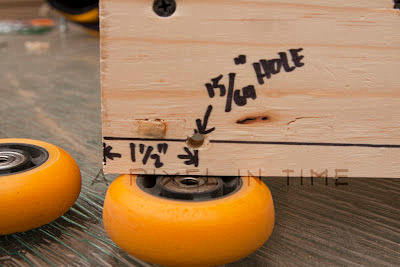
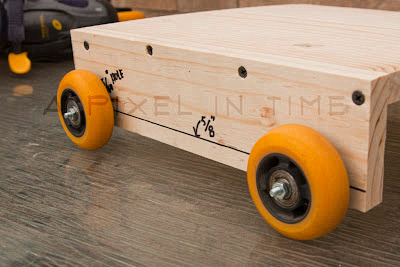
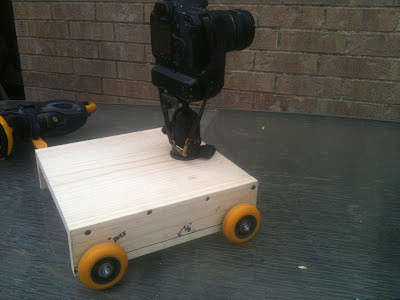
* Mark a line to determine how "high" to drill the holes for the wheels, and mark on the line how far in from the edge to make those holes. I am being non-specific dimentionally here as there may be different size wheels. Mine were 5/8" up and 1 1/2" in from the edge. Measure for the placement of the wheels.
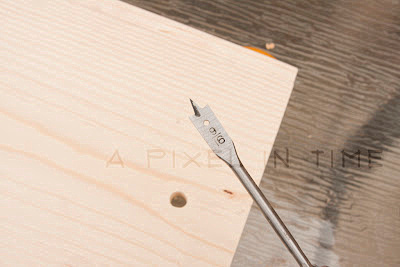
* Drill your holes for your screws. Accuracy is important here as you need to insure that all 4 of your wheels touch the "ground" together.
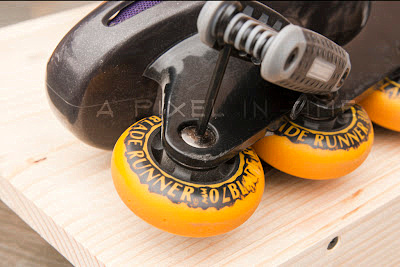
* If you have not already done so, remove 4 wheels from the donor skates. This will likely require hex wrenches. Discard all of the hardware and nekkid boot. You just want the wheels.
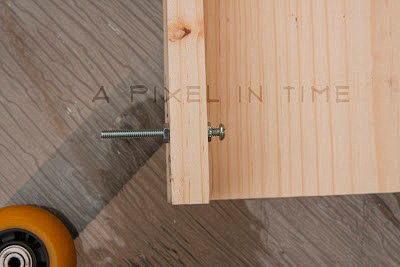
* Thread one of the nuts on the screw. I intentionally got screws that were too long so I could adjust them on the inside. The distance that you will put this down depends on the length of screw, thickness of board and the thickness of the wheel. Thread this screw into the hole and secure another nut down on the screw. This should lock the screw down. I only tightened mine finger tight, you can use a wrench of your so choose. Then put the wheel on the screw and now the final nut to secure the wheel. So your 'sandwich' should be: Screw->nut->board->nut->wheel->nut. The middle nut is important as you need to hold the wheel off of the board so that it spins. The size of the nut is important as you only want to tighten down on the bearing so that the wheel spins.
*Now repeat this on the other 3 corners.
* Drill a hole 'somewhere' on the platform for the 3/8" bolt to go through to secure down your ball head. The hole I drilled was a little large, but not too bad (I didn't have a correct sized bit). If you find that you have drilled your hole too large, move to another spot and drill another hole just slightly larger than the shaft of the bolt, or you could use a fender washer between the bolt and the platform.
* Thread the bolt through the hole from the bottom and screw on your ball head. This one you might want to tighten more than by hand, but please don't tork the heck out of it.
I do have to put a little note here - if your ball head pans, make sure you have it tightened so that you can give it a little twist if need be, but not so loose that it will go all rotatey... On my head, the knob to tighten the pan is right at the board. When mounted, it cannot tighten. I learned...
* Mount your camera to the ball head and viola! You have a very basic camera dolly. iPhone photo warning, I left my other body at the camera shop.
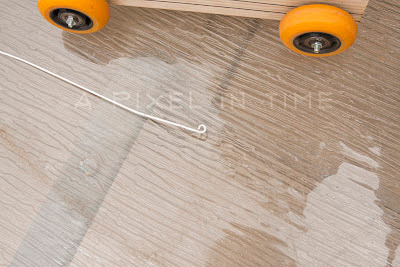
You can stop here if this dolly will suit your needs. But remember me telling you that my project was to move a scale model car and the camera at the same speed and orientation? Joan Crawford was wrong - I *DO* need a wire coat hanger. They are great DIY staples to have around! Cut off the hook part and straighten it out. On one end, bend a loop in it so that you can screw it into the dolly. You will need to decide where you want your car to be to determine where you want your bends on it. Also, depending on the scale of the scale model, may dictate the length. The last bit of stuff needed is how to secure this to the car. Because some of these cars can be pretty expensive, I wanted to use something that was non harmful to the car. My daughter has to use these silicone-wax ear plugs to take a shower. She cannot get water in her ears. She also can't seem to get them into the trash after she uses them. I have stepped on a few. They are sticky. IF you go this route, use a fresh one.
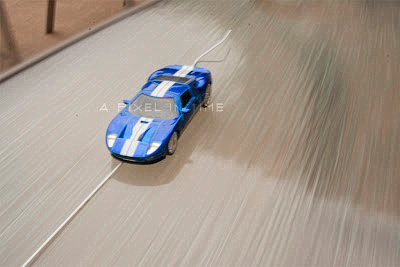
This is my first try, straight out of camera. Alignment is crucial here!
I obviously did not get it dead straight...
This is after a little post processing magic! Not too bad. About what I expected for my first go. I have a lot of ideas and tweaks for this.
I think I will end this tutorial here since the name of this is "DIY - Small basic dolly for smooth camera motion ". I will make a part 2 that will show what I did to create the "Scale Model / Die Cast Rolling Rig Shot". You can view that by clicking "HERE"! I will have more and better images to show you there, along with a how to on the removal of the rig.
If you enjoyed this, please let your photographer friends know by sharing it to them. If you have any questions, I will do my best to answer them, just leave a comment below.
This post is in loving memory of my uncle Richard F. McCrossin. May you rest in the peace that the Lord gives you - and please, don't give God too much of a hard time...
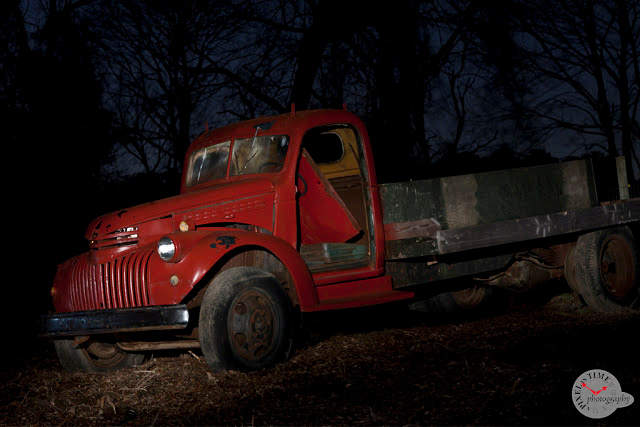
Wednesday, February 15th, 2012 was his funeral. Driving in the procession out to Calverton National Cemetary in Riverhead NY, I spot this old truck on the side of the road. After the service my cousin Richard and Lori asked if I saw the truck. I told them that I did and I planned to come back at night to shoot it before I left. They wanted to go with.
All I had with me was my 40D and Tamron 28-75. No tripod, no remote shutter... Fortunately Walmart sells a tripod, which is only marginally better than hand holding... But they have a great return policy, so I went that route.
Borrowed a flashlight from my Aunt Barbara, and the 3 of us were off...
It was pretty cold and windy this evening. I think we were out of the car for maybe 20 or so minutes. I had to shoot this in 7 frames as I was limited to 30 seconds for a shutter speed and couldn't light all of the parts that I wanted to in that amount of time. By the time we were done with this comp, my fingers were numb - so there was no doing another angle...
F2.8, ISO400, 30seconds for each of the 7 frames. Stacked and masked in PS-CS5E...
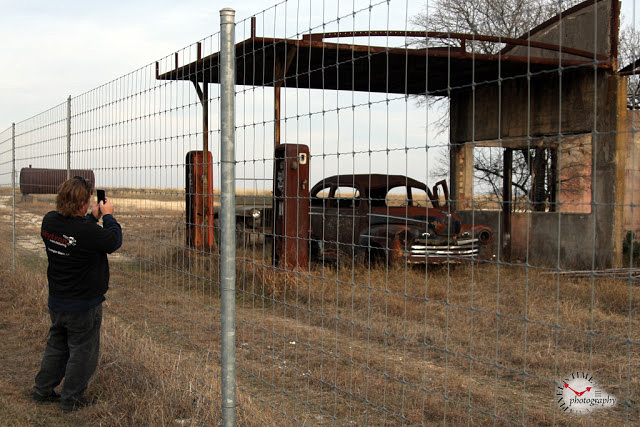
|
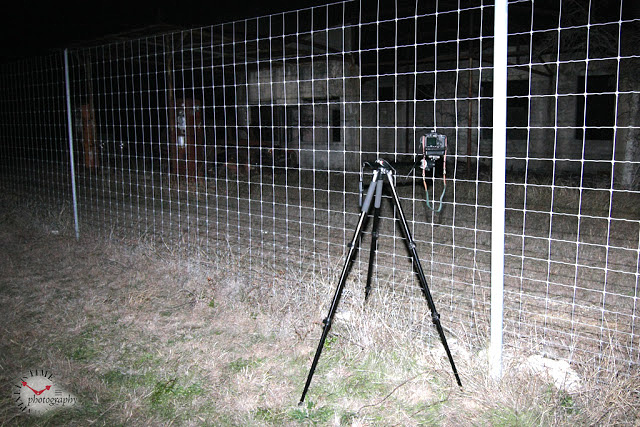
| Todd gets the most amazing photos from his iPhone 4. Okay, he is looking at his star finder app to see where the Milky Way would be presenting itself for this evening. I think my version is funnier! |

|
| Slightly different view in the yard. The guy across the street was hanging Christmas lights and had just turned them on. I did add a little 2AA Mag-Light to round it all out. |
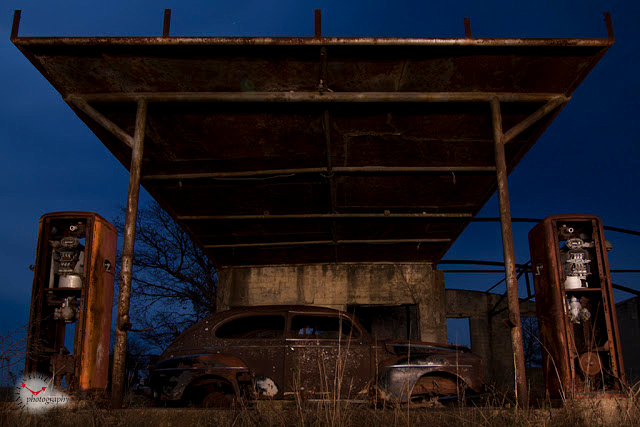
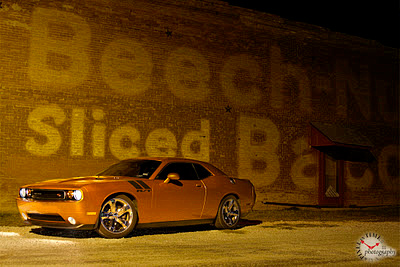
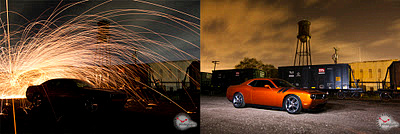
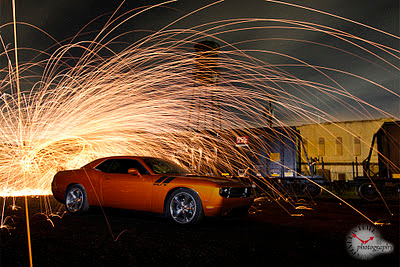
It was unusually warm for this time of the year in North Texas. But 70 degrees for mid-November is not always a bad thing. It was partly cloudy which actually worked to our benifit as it gave some interest to the sky. This evening it was Todd, Lonnie and me with the plan of shooting Lonnie's Dodge Challenger RT. Started out at about 4pm on Saturday and I didn't get home till about 3:30am on Sunday morning. We had a lot of fun and it was good meeting another N. Texas 'tog!

|
| Still on the same site, this truck was begging to be shot. Again with the large amout of light polution. Wish that the truck had better wheels, but I still really like this shot. |
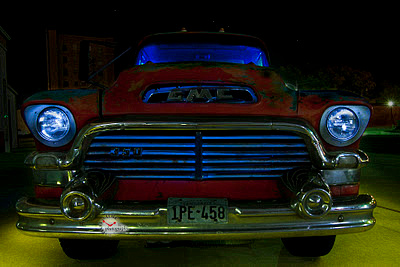
|
| This is my favorite shot of the night. |


